
Baseboard cleaning made simple: the fastest method that works
Baseboard cleaning made simple: the fastest method that works
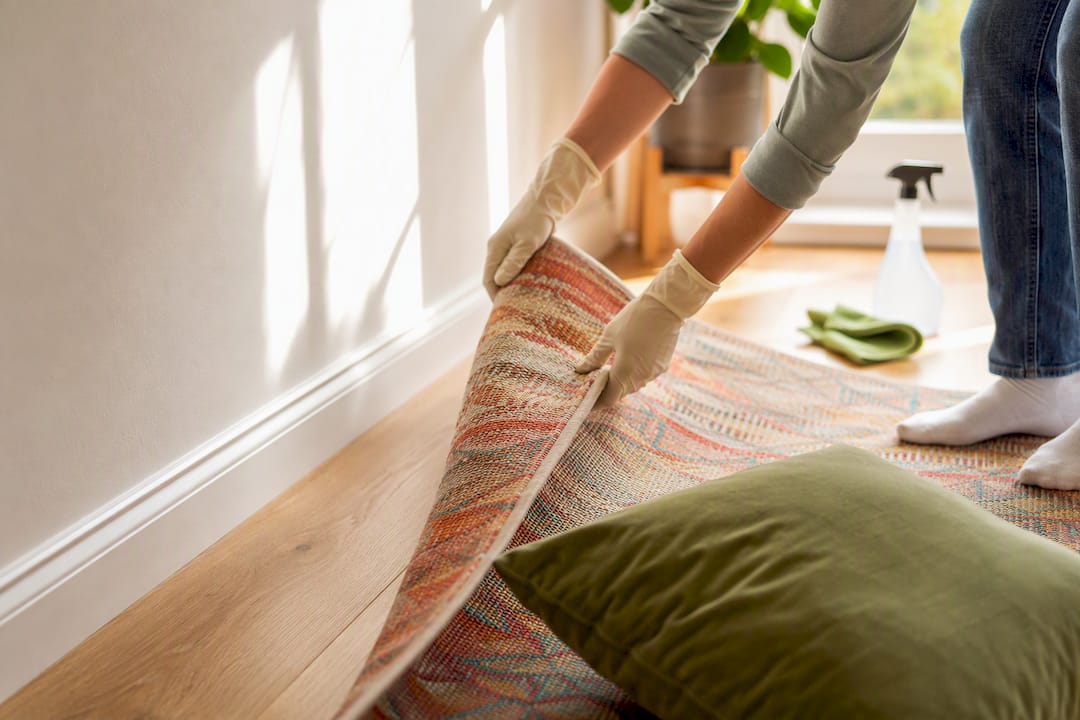
The fastest effective method is to dust first, then wipe with a mild dish-soap solution and finish scuffs with a melamine sponge. Dust and hair build up along baseboards faster than almost any other surface in the house because they sit right where the air current from foot traffic and HVAC vents drops its load. Skip the dusting step and you just smear grit into a paste. Here’s the exact sequence, in order:
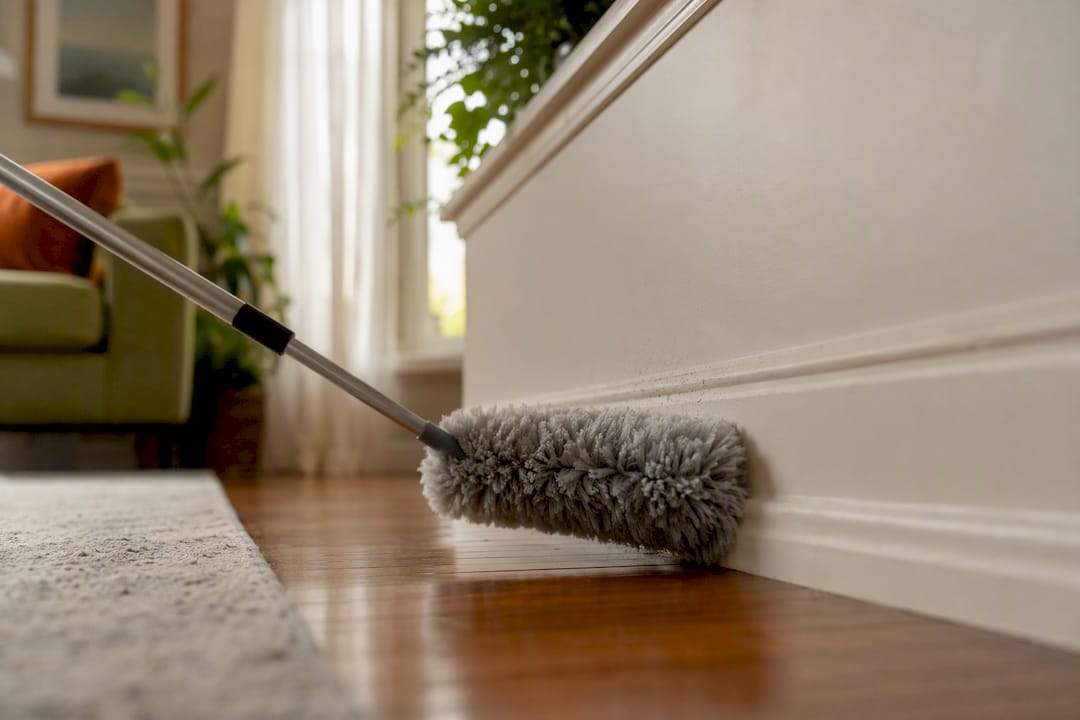
- Dust first. Vacuum with a brush attachment or run an extendable duster along the whole run.
- Wipe with mild soap. Mix dish soap diluted in warm water without specifying exact amounts, dip a microfiber cloth, and wring it hard before it touches the wood or vinyl.
- Spot-treat marks. A melamine sponge lifts scuffs that soap alone won’t touch.
- Dry as you go. A damp baseboard left wet can stain flooring or lift paint at the seam.
If kneeling isn’t an option, a long-handled microfiber mop or a spin mop head handles steps one and two without a single bend.
Key Takeaways
Effective baseboard cleaning depends on the right sequence: dust first, wipe with a properly diluted soap solution, and escalate carefully for scuffs without mixing cleaning chemicals.
| Point | Details |
|---|---|
| Dust before wet wiping | Vacuum or dust first so grit doesn’t turn into paste under a wet cloth. |
| Use the right soap ratio | Mix dish soap diluted in warm water, without specifying exact amounts, for safe, effective cleaning. |
| Escalate scuffs gradually | Try a melamine sponge or art gum eraser before reaching for a degreaser. |
| Never mix cleaning chemicals | Keep vinegar and degreasers separate to avoid harmful fumes. |
| Book a pro for heavy jobs | Atelier Maids offers flat-priced, insured cleaning crews for move-outs, post-construction grime, or persistent buildup. |
Table of Contents
- Baseboard cleaning tools and how to set up the room
- How do you clean baseboards step by step?
- How do you remove scuffs and stubborn marks from baseboards?
- How often should you clean baseboards?
- When hiring a professional makes more sense
- What actually matters most in baseboard cleaning
- Get baseboards professionally cleaned without lifting a sponge
- Frequently asked questions
- Sources
Baseboard cleaning tools and how to set up the room
Good baseboard cleaning tools solve one problem: reaching a strip of trim that sits low, collects everything, and punishes anyone who has to crouch for it. Before buying anything new, check what’s already in the closet. A vacuum with a brush attachment and a couple of microfiber cloths cover most of the work.
The full toolkit that actually earns its shelf space, including tips on safe cleaning approaches for trim and finishes, can be found at One Day Doors & Closets:
- Vacuum with a brush attachment — pulls loose dust and pet hair without scratching paint.
- Extendable duster — a microfiber or electrostatic head on a pole, ideal for long hallways.
- Long-handled microfiber mop or spin mop — the standing-friendly workhorse for the wet-wipe pass.
- Microfiber cloths — at least two, one for soap water and one dry, for the final buff.
- Melamine sponge — the go-to for scuffs and scattered marks.
- Soft crevice brush — an old toothbrush or a dedicated grout brush for corners and mitred joints.
- Bucket or spray bottle — for mixing and applying the soap solution without oversaturating cloths.
For the cleaning solution itself, stick with a mild degreasing dish soap mixed at roughly ½ to 1 teaspoon per 2 quarts of warm water. That ratio cuts grease and dust without leaving a soap film or attacking a painted or varnished finish. In kitchens, This Old House notes that a light degreaser works better than soap alone on grease splatter near stove-adjacent baseboards, but the outlet is clear on one point: never mix vinegar with a commercial degreaser. The combination can produce fumes that irritate lungs and eyes, and it buys you nothing extra in cleaning power.
Before touching a single baseboard, spend two minutes on prep. Slide furniture and rugs a foot or two away from the wall so you’re not cleaning around obstacles. Pick one hidden section, maybe behind a couch or inside a closet, and test your soap mix and any tool you haven’t used before. This matters more on stained or lacquered wood, where a solution that’s fine on painted MDF can dull the finish. Lay an old towel along the floor edge if you’re worried about drips, and always wring cloths until they stop dripping before they touch the wall. A cloth that’s merely damp, not wet, does the job and dries in minutes.
Pro Tip: Vacuum before you ever reach for a melamine sponge. Consumer Reports found the sponges work well on scuffs but load up fast with pet hair, forcing constant rinsing. A quick vacuum pass first keeps the sponge doing its actual job. This detail comes straight from Consumer Reports’ testing on baseboard cleaning tools.
How do you clean baseboards step by step?
Work top-down through the room, not baseboard-first. RealSimple’s cleaning sequence puts baseboards last precisely because dust from higher surfaces, shelves, window sills, light fixtures, drifts down and resettles on whatever you cleaned earlier. Finish the room, then hit the trim.
The workflow, room by room:
- Clear the path. Move floor lamps, plant stands, and anything within a foot of the wall.
- Vacuum or dust the entire baseboard run first, corners included, before any liquid touches the surface.
- Mix your soap solution and wring a microfiber cloth until it stops dripping.
- Wipe in short arm’s-length sections, rather than dragging one cloth the length of a wall, so you can rinse and re-wring before the cloth turns into a dirt-spreading tool.
- Check corners and mitred joints separately with a crevice brush or an old toothbrush dipped in the same solution.
- Follow immediately with a dry microfiber cloth to lift any leftover moisture.
- Refresh your water and cloth whenever the water turns visibly grey, usually every one or two rooms in a dusty house.
That’s the hand-cleaning version, and it’s still the most thorough option for corners, scuffs, and anywhere you need real pressure. But if bending is the issue, a damp spin mop head or a long-handled microfiber tool on an extension pole handles steps three through six standing up. Cleaning professionals interviewed by The Spruce favour exactly this low-water, low-effort approach for routine maintenance because it protects both paint and flooring while skipping the kneeling altogether.
The tradeoff is pressure. A pole tool glides along the surface, which is great for dust and light grime, but it can’t press hard enough to lift a stuck-on scuff the way a hand with a melamine sponge can. Save the standing method for regular upkeep and drop to hands and knees only when something actually needs scrubbing.
A few things to watch for as you go:
- Change your water the moment it looks cloudy, dirty water just redeposits grime.
- Never let a cloth sit soaking wet against paint. Wring, wipe, move on.
- If a section dries with streaks, go back with a barely damp cloth followed by a dry one.
- Corners collect more dust than flat runs; give them a second pass.
Finish each room by running a dry cloth along the whole baseboard one more time. This isn’t optional polish, it’s what stops water from sitting in the seam between baseboard and flooring, where it can warp laminate or stain hardwood over time.
How do you remove scuffs and stubborn marks from baseboards?
Scuffs need more than soap, but not necessarily more than a melamine sponge. Dampen the sponge, wring it well so it’s not dripping, and start with gentle pressure in a small circular motion. Increase pressure gradually rather than attacking the mark full force right away. Consumer Reports testing found melamine sponges can effectively lift scuffs but may wear through thin paint if scrubbed aggressively for too long in one spot, so test on a hidden section first and use short, firm strokes rather than long, hard ones.
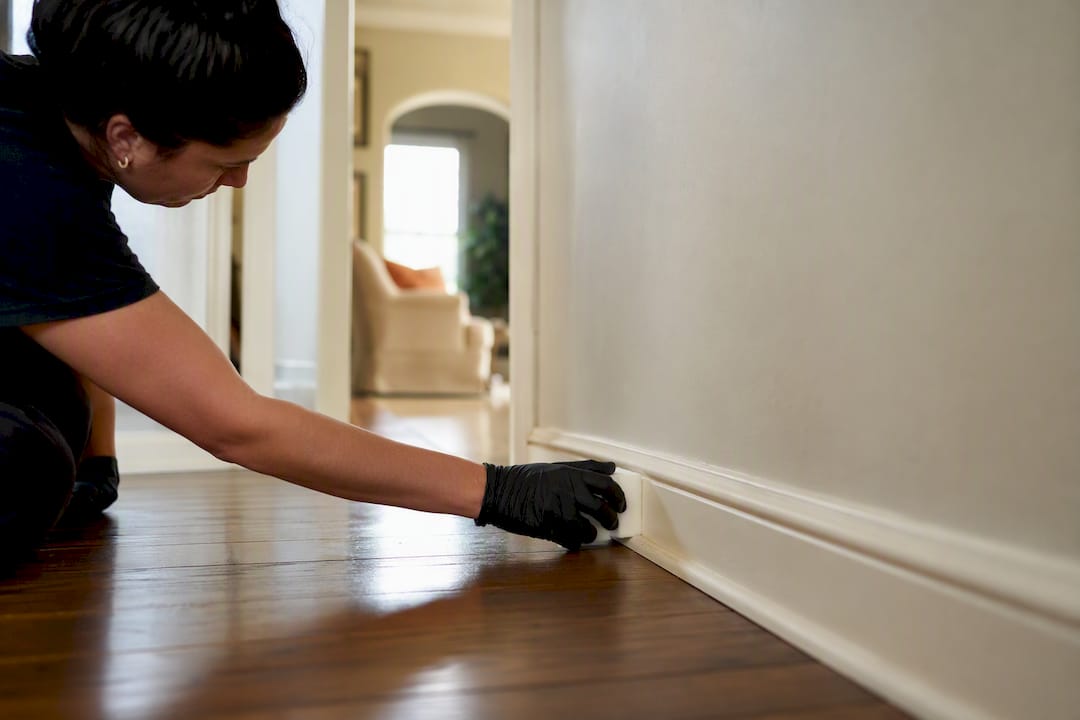
For painted or stained wood where you’re worried about the finish, an art gum eraser is the gentler option. It lifts pencil-style scuff marks and light scratches without the abrasive bite of melamine, though it takes longer on anything greasy.
PVC baseboards with rubber-soled shoe marks respond well to a small amount of WD-40 on a cloth, rubbed directly onto the scuff. Test it on an inconspicuous spot first since it can leave a residue on some painted surfaces.
When grease is the culprit, usually kitchen baseboards near the stove, work up in strength rather than starting strong:
- Try the mild soap solution first.
- Move to a light degreaser if soap doesn’t cut it.
- Ventilate the room and never combine the degreaser with vinegar or any other acid-based cleaner.
Visible baseboard scuffing occurs fairly often in high-traffic hallways and kitchens according to cleaning-pro observations, according to cleaning-pro observations shared with The Kitchn, which is why professionals escalate cleaning strength gradually instead of reaching for the strongest product first.
If a mark still won’t lift after a melamine sponge, an eraser, and a degreaser pass, stop. That’s usually a sign the finish itself is damaged, not just dirty, and no amount of scrubbing fixes a gouge or worn paint. Light sanding and a touch-up coat of paint, or a call to a cleaning professional who can assess whether it’s dirt or damage, saves you from making the spot worse.
How often should you clean baseboards?
A light dusting every two weeks keeps most homes ahead of the problem, with a full wet wipe done quarterly or whenever visible grime shows up. Households with pets or heavy kitchen traffic often need the wet-wipe pass more like every six to eight weeks, since pet hair and cooking residue accumulate faster than plain household dust.
A few habits make that schedule painless instead of a chore you dread:
- Run a used dryer sheet along clean, dry baseboards. The thin residue it leaves cuts static, which is what pulls dust to trim in the first place.
- If you’re repainting, choose semi-gloss over flat or matte. The smoother finish wipes clean far more easily.
- Seal any gap where baseboard meets flooring. Gaps trap dust and make every cleaning pass less effective.
Pro Tip: Fold baseboard dusting into your regular vacuuming or mopping routine instead of treating it as a separate task. Thirty extra seconds per room with the vacuum’s brush attachment prevents the kind of buildup that turns into a two-hour deep clean later.
When hiring a professional makes more sense
Some baseboard jobs go past a weekend fix, caked grease in a rental kitchen, years of buildup after a move-in, or a whole house that needs attention after construction dust settles into every seam. That’s the point where a professional visit saves more time than it costs.
Atelier Maids builds each client a dedicated cleaning crew that learns the specific quirks of a space, including the baseboards and vents that get skipped in a rushed clean. Every visit runs on flat pricing, so there’s no surprise invoice for the extra attention trim work takes, and you get a service report after each appointment showing exactly what was done.
Consider hiring when:
- You’re dealing with move-in or move-out cleaning and don’t have days to spare.
- Post-construction dust has settled into every corner and crevice.
- Grease has hardened along kitchen baseboards over months or years.
- Mobility makes kneeling or extended standing genuinely difficult.
Browse Atelier Maids’ cleaning services or check the house cleaning page for what a standard visit covers, and ask about adding a baseboard-focused pass to your next booking.
What actually matters most in baseboard cleaning
Most advice on this topic treats every baseboard like it’s caked in a decade of grime, which pushes people toward harsh scrubbing when a soft cloth and the right soap ratio would’ve done the job. The research backs a gentler default: dust removal solves more of the problem than people expect, and reaching for a melamine sponge before vacuuning just wears out the sponge and risks the paint underneath it.
The conventional wisdom also underrates how much standing-friendly tools can handle. A spin mop or extendable duster won’t fix a scuffed corner, but it covers the bulk of routine maintenance without anyone kneeling on hard flooring. Save the hands-and-knees work for what actually needs it, scuffs, grease, corners, and let the pole tools do the rest.
If there’s one habit worth prioritizing, it’s the two-week dusting cadence. Everything downstream, fewer stains, less scrubbing, fewer chemicals, gets easier once dust stops accumulating into something that needs real force to remove.
Get baseboards professionally cleaned without lifting a sponge
If scrubbing baseboards on your hands and knees isn’t how you want to spend a Saturday, Atelier Maids handles it for you as part of a regular or one-time cleaning visit, with the same crew returning each time so they already know your home’s trim, vents, and trouble spots.

Every visit comes with flat pricing set upfront, so a heavily scuffed kitchen baseboard or a whole house of post-construction dust never turns into a surprise line item. You also get a written service report after each visit confirming exactly what was cleaned, which matters if baseboards and vents are the areas you’re worried get skipped.
This fits best if you’ve read through the steps above and decided your time is better spent elsewhere, or if the grime has gone past what a melamine sponge and some elbow grease can fix. Visit the Atelier Maids services page to see what’s included in a standard visit, or request a quote and mention baseboards specifically so your crew knows to give them extra attention from the first appointment.
Frequently asked questions
What is the best homemade solution for cleaning baseboards? A mix of ½ to 1 teaspoon of dish soap per 2 quarts of warm water handles most dust and light grime without damaging painted or stained finishes. For grease near kitchen baseboards, a light degreaser works better, but never combine it with vinegar.
Can I use vinegar to clean baseboards? Yes, diluted vinegar works fine as a general cleaner on many painted baseboards, but keep it away from any commercial degreaser. Mixing the two can create fumes, and combining them offers no extra cleaning benefit over using either one alone.
How do I clean baseboards without bending down? A long-handled microfiber mop or a spin mop head covers dusting and wet wiping while standing. It won’t remove stubborn scuffs, which still need hand pressure with a melamine sponge, but it handles the bulk of routine cleaning.
How often should baseboards actually be cleaned? Light dusting every two weeks prevents most buildup, with a full wet wipe every three months or whenever marks appear. Homes with pets or heavy kitchen use often need the wet pass more frequently.
Will a melamine sponge damage painted baseboards? It can, if you scrub hard for too long in one spot. Test it on a hidden area first, use short firm strokes rather than long hard ones, and stop if the paint starts to dull or thin.
Sources
- The Best Tool for Cleaning Your Baseboards - Consumer Reports
- How to clean your baseboards so they look brand new again
- How to clean molding and baseboards - This Old House