
A post construction cleaning checklist that actually gets sites move-in ready
A post construction cleaning checklist that actually gets sites move-in ready
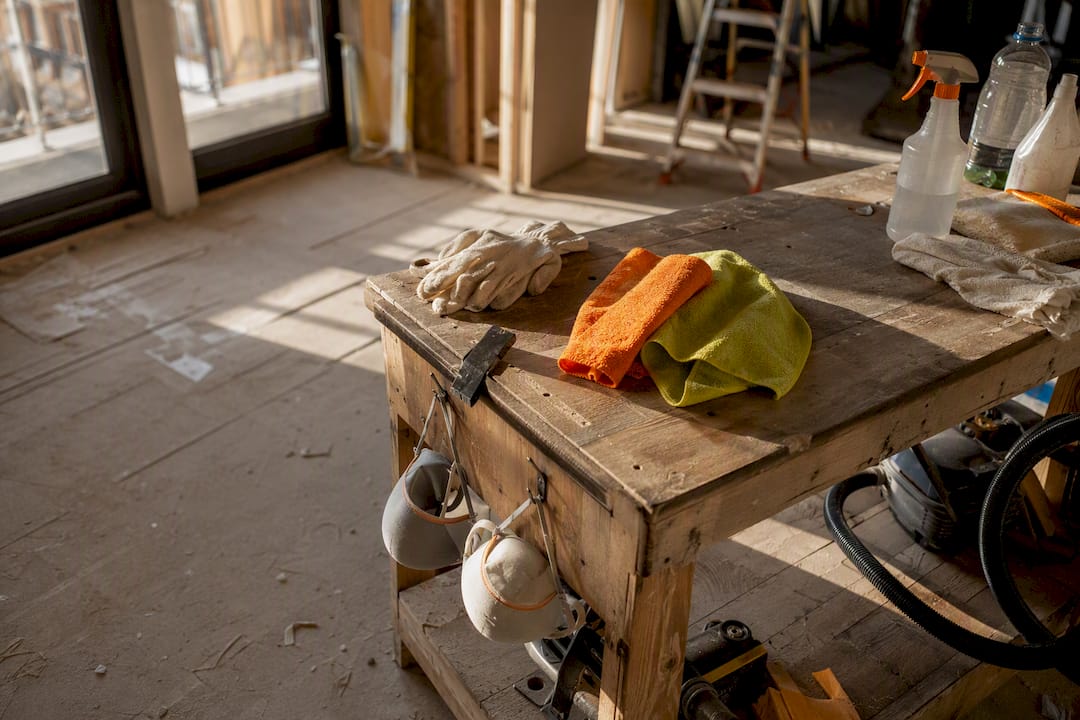
A post construction cleaning checklist gets a job site from construction zone to move-in ready by working through three distinct phases: rough clean, light clean, and final clean. Skip a phase and you’ll see it later, usually as a fine grey film on a windowsill the day a client walks through.
The rough clean pulls out debris and settles the worst of the dust. The light clean handles surfaces, fixtures, and detail work. The final clean polishes glass, floors, and touchpoints to inspection standard. Even after that final pass, expect fine particulate to keep settling for up to two weeks, which is why smart project managers book one or two light follow-up cleans before calling the job truly closed.
The three phases at a glance:
- Rough clean: bulk debris, packaging, stickers, and construction waste removed
- Light clean: surfaces, vents, cabinets, and fixtures wiped and detailed
- Final clean: glass, floors, and high-touch surfaces polished to move-in condition
Key Takeaways
A post construction cleaning checklist works because it separates bulk debris removal, detailed surface cleaning, and final polish into three distinct phases, each requiring a HEPA-first method to control fine dust safely.
| Point | Details |
|---|---|
| Follow the three phases in order | Run rough clean after demo, light clean after paint, final clean 24 to 48 hours before walkthrough. |
| HEPA vacuum before wet cleaning | Always vacuum ceilings, walls, and floors with a HEPA unit before any damp wipe or mop. |
| Budget for follow-up cleans | Schedule one to three light cleans over the two weeks after final clean as dust continues settling. |
| Document the walkthrough | Photograph completed rooms and get a signed sign-off before handover to avoid later disputes. |
| Brief vendors with the checklist | Atelier Maids’ post-construction service covers phase-by-phase scope, flat pricing, and service reports per visit. |
Table of Contents
- When to schedule each cleaning phase
- The room-by-room checklist for post-renovation cleaning
- What tools and PPE does construction dust removal actually require?
- How soon should you follow up after the final clean?
- Running the final walkthrough and getting sign-off
- What to expect from a professional post-construction cleaning crew
- Why most checklists undersell the timeline
- Book a crew that already knows the three-phase workflow
- Frequently asked questions
- Sources
When to schedule each cleaning phase
Timing determines whether a phase actually works or just moves dust around. Rough cleaning happens as soon as major trades finish their rough-in work, usually right after framing, drywall hanging, and any demolition debris removal. This is heavy labour: hauling out offcuts, packaging, and construction waste before the finer trades (painters, flooring crews, electricians finishing fixtures) move in behind them.
Light cleaning slots in after painting and before final fixture installs, once dust has mostly settled but before carpets, cabinetry, and appliances go in. This phase is where a lot of general contractors quietly fall short, because it looks like a smaller job than it is.
Final cleaning happens after every trade has left the site for good, typically 24 to 48 hours before a walkthrough or possession date.
- Rough clean — after demo and framing, before finishing trades arrive
- Light clean — after paint and drywall finishing, before final installs
- Final clean — after all trades are complete, before walkthrough
Larger renovations or new builds almost always call for a professional crew by the final phase, since the equipment and the labour hours needed to hit inspection quality exceed what most owners or site supers can absorb solo.
Pro Tip: Book your final clean for the afternoon before a scheduled walkthrough, not the morning of. It gives you a buffer to catch anything a first pass missed without rushing.
The room-by-room checklist for post-renovation cleaning
This is the working list. Print it, hand it to a crew, or check it off room by room as you go.
General areas
- Remove all debris, packaging, and leftover materials
- Wipe baseboards top to bottom, catching the ledge where drywall dust collects
- Clean light fixtures and ceiling fans, inside globes and on top of fan blades
- Wipe switch plates and outlet covers, front and edges
- Vacuum and wipe vent covers and returns
Kitchens
- Clean appliance interiors and exteriors, including under the stove hood
- Wipe counters and backsplashes, checking grout lines for dust residue
- Empty and wipe cabinet interiors before anything goes on the shelves
- Degrease around the range and behind faucets
Bathrooms
- Sanitize toilets, tubs, showers, and sinks
- Remove grout haze left behind by tile installation
- Polish chrome and stainless fixtures, which show water spotting fast under new lighting
- Check exhaust fan covers for drywall dust buildup
Cabinets, closets, and drawers
- Vacuum interiors first to lift loose dust before wiping, so you’re not smearing grit across the surface
- Wipe shelves and drawer tracks
- Remove manufacturer labels, stickers, and adhesive residue from every surface
Windows and glass
- Strip protective film and label residue from glass and frames
- Clean tracks and sills, where construction grit tends to compact into corners
- Wash both sides of glass and wipe frames
Floors
- HEPA vacuum every floor type before anything wet touches the surface
- For carpets, run a full extraction rather than a surface vacuum alone
- For sealed hardwood and laminate, follow with a barely damp microfibre mop and a neutral cleaner rated for that flooring type, since standing water can warp seams and dull finish
If the project includes exterior glass or a storefront, professional window crews often bring specialized tools for streak-free results at height, which is worth outsourcing even on an otherwise DIY job. A partner resource on post-construction window cleaning covers why exterior glass tends to get missed and why it matters for first impressions.
What tools and PPE does construction dust removal actually require?
The order you clean in matters as much as the tools you use. Wiping a dusty surface before vacuuming it just grinds grit into the finish and sends fine particulate airborne again.
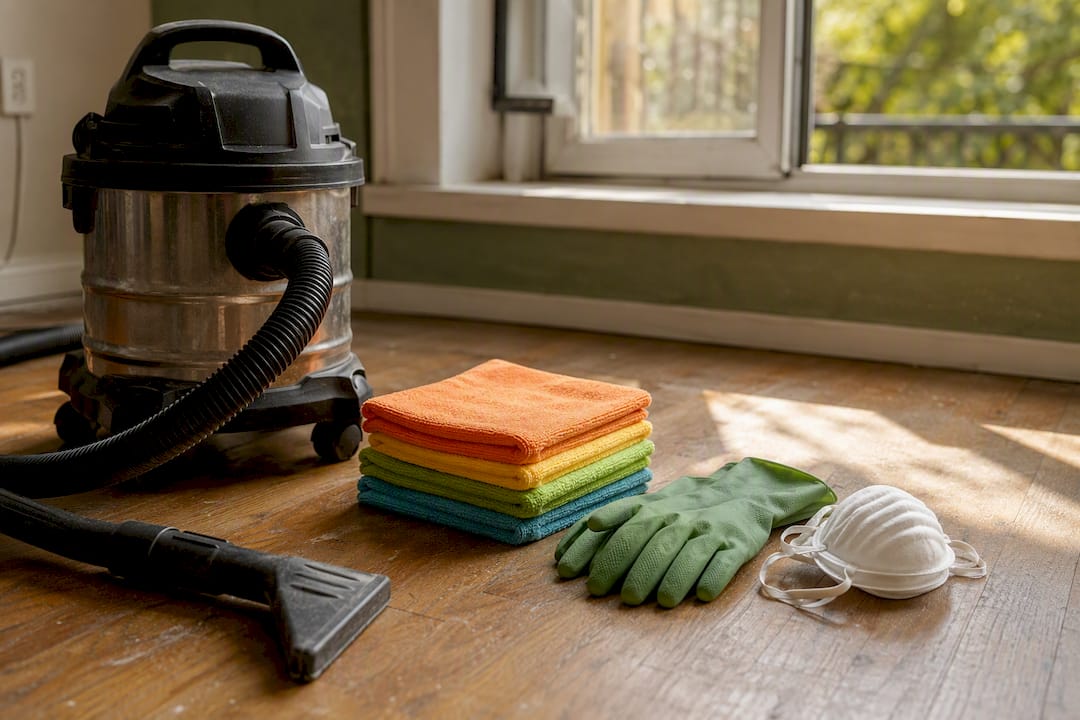
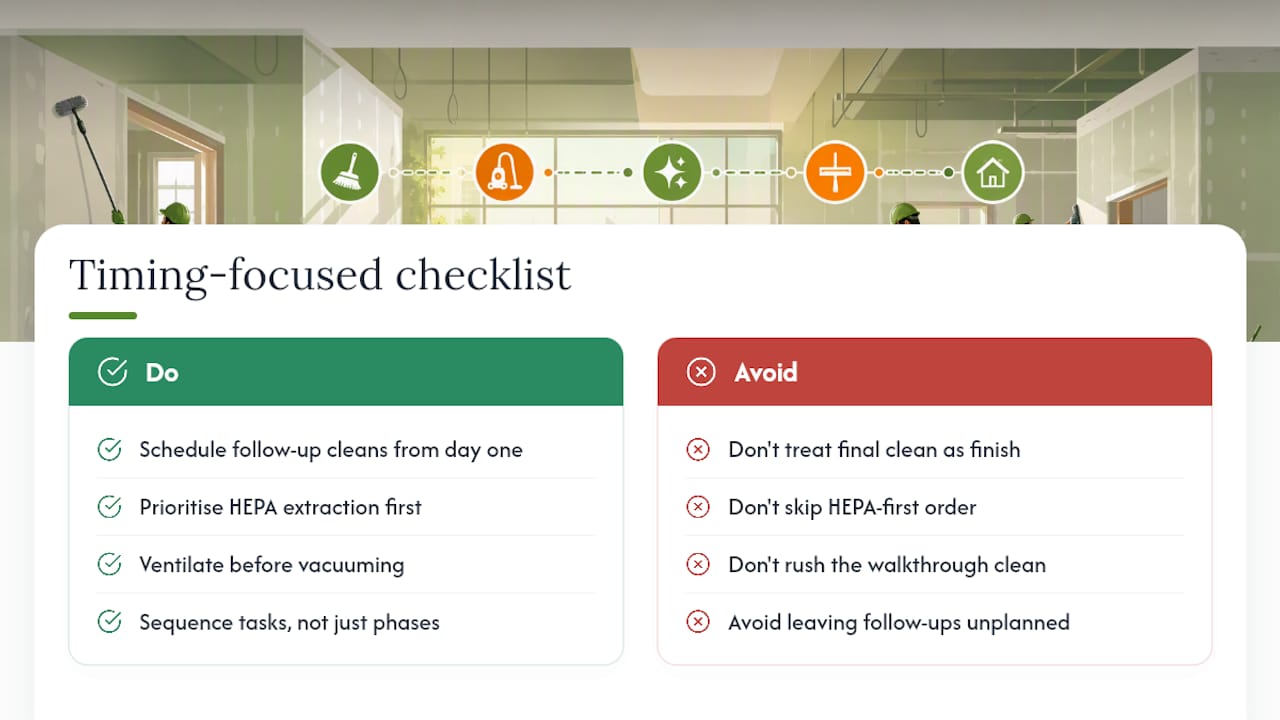
The sequence that works: ventilate the space first, clear bulk debris by hand, HEPA vacuum every surface from ceiling down to floor, then follow with a damp microfibre wipe. Wet cleaning always comes last, never first, because pre-wetting dust before extraction spreads it into finishes and HVAC returns instead of lifting it out.
Equipment that matters:
- Industrial HEPA vacuums with brush and crevice attachments for tight corners
- Air scrubbers on larger commercial jobs to filter airborne particulate during the clean
- Microfibre mop systems and cloths, which trap dust rather than push it around
- N95 or P2 respirators, safety goggles, and gloves for anyone doing the physical work
Drywall dust deserves its own mention. It’s fine enough to work into lungs and HVAC systems if it’s not handled properly, which is exactly why HEPA extraction before any wet contact is the standard professional method, not a nice-to-have.
Replace HVAC filters immediately after the final detail clean. A fresh filter after cleaning, rather than before, stops recirculated dust from clogging it within days.
How soon should you follow up after the final clean?
Fine dust doesn’t stop moving the moment the last cloth comes down. Air currents and static keep redistributing particulate for days, which is why a single final clean, however thorough, rarely stays perfect.
Plan for some light follow-up cleans spread across the weeks after project completion to catch resettled dust before it builds into a visible film again.
- Final clean: 24 to 48 hours before walkthrough or possession
- Follow-up 1: three to four days after final clean
- Follow-up 2 (optional): one week later, especially for larger commercial spaces
- Follow-up 3 (optional): two weeks out, ahead of listing photography or tenant move-in
If you’re timing a clean around real estate photography or a client handover, build the follow-up into your schedule from the start rather than reacting to dust after someone spots it.
Running the final walkthrough and getting sign-off
Treat the walkthrough as a verification pass, not a formality. A phase-by-phase punch-list approach catches the small misses, like a smudge on a switch plate or dust still sitting on a vent louvre, before a client finds them first.
- Walk each room in the same order used during cleaning, checking off tasks against the original checklist
- Flag anything incomplete on a punch list with room and item noted
- Photograph completed rooms, particularly kitchens, bathrooms, and floors, for a documented record
- Have the client or site manager walk through and sign off on completion
- Confirm all waste has cleared the site per municipal disposal rules before final handover
Exportable checklist formats with photo attachments make this step faster and give both sides a record if a dispute comes up later.
What to expect from a professional post-construction cleaning crew
Hiring out the final phase saves time, but only if you brief the vendor properly. Hand over the phase-by-phase checklist directly and ask what documentation comes with the job.
Look for these specifics in any quote:
- Insured, background-checked crew members, not rotating day labour
- A flat price tied to the scope, not a vague hourly estimate
- A written service report after the visit, confirming what was actually done
- Clear coverage of which phases (rough, light, final) are included
- Confirmation of HEPA vacuum use and PPE for the crew
Atelier Maids’ post-construction cleaning service outlines exactly this kind of phase coverage, which makes it easier to compare against other quotes line by line. Ask for photo documentation and a signed completion report before the crew leaves the site.
Why most checklists undersell the timeline
Most post-construction checklists treat the final clean as the finish line. That’s the biggest gap in how this job usually gets planned. The physics of settling dust don’t care about your handover date, and a site that looks flawless on Thursday can show a fine grey film on windowsills by the following Monday.
The three-phase framework gets too much credit for solving a problem that timing actually solves. Rough, light, and final cleaning matter, but the sequence within each phase, HEPA extraction before any wet wipe, ventilation before vacuuming, matters more than which phase you’re technically in. A rushed final clean that skips the HEPA-first order will look fine at the walkthrough and fail within days.
If there’s one thing worth prioritizing above the checklist itself, it’s building the follow-up cleans into the schedule from day one instead of treating them as an afterthought once someone complains. That single shift in planning, more than any tool or product, is what separates a site that stays clean from one that needs a second emergency visit two weeks later.
Book a crew that already knows the three-phase workflow
Atelier Maids handles post-construction cleanups the way this checklist lays them out, phase by phase, with a dedicated crew that documents every visit instead of leaving you guessing what got done. That’s the real gap between hiring a general cleaning service and hiring one built around construction handovers specifically: flat pricing tied to the scope you actually need, not a per-hour estimate that grows once dust turns up somewhere unexpected.
When you request a quote, ask for phase coverage (rough, light, final), confirmation of HEPA equipment and PPE, and a written service report after the visit. Atelier Maids’ cleaning services page outlines current offerings across residential and commercial post-construction jobs, and the team is insured and background-checked with a satisfaction guarantee behind every booking. If your project includes office or retail space, the office cleaning page covers commercial-specific scope. Request a scope-based quote and get your final clean scheduled before your next walkthrough date.
Frequently asked questions
What is a post construction cleaning checklist? It’s a phase-based task list covering rough debris removal, detail cleaning, and a final polish pass, used to confirm a site is genuinely move-in or inspection ready rather than just visually tidy.
How much does post construction cleaning cost? Post construction cleaning rates vary widely by square footage, dust load, and region, with post construction cleaning cost in Toronto and other major markets typically quoted per project rather than per hour once scope is defined. Ask any vendor for a flat, scope-based quote rather than an hourly estimate.
How do you remove construction dust from a room? Ventilate the space, remove bulk debris by hand, HEPA vacuum every surface from ceiling to floor, then finish with a barely damp microfibre wipe. Wet cleaning before vacuuming spreads dust rather than removing it.
How long does construction dust keep settling after cleaning? Fine particulate can continue settling for up to two weeks after the final clean, which is why one to three light follow-up cleans in that window catch what resettles on sills, vents, and surfaces.
Do I need a respirator for post-renovation cleaning? Yes, for any drywall or joint compound dust. An N95 or P2 respirator, safety goggles, and gloves are standard PPE for anyone doing the physical cleaning, especially during the rough and light phases.
Sources
- Free post construction cleaning checklist | SafetyCulture
- How to clean construction dust properly
- Post-construction cleaning punch list for general contractors | Able FS